
If you're ready, let's start !
Step 1
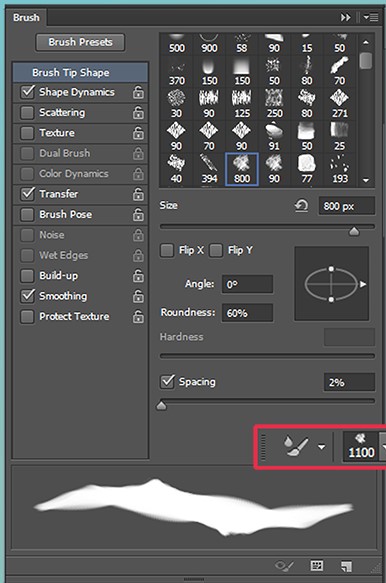
You can steal the brush I made (link in bottom)
just using the Dry, Heavy Load preset.
Mind the flow.
Step 2

Step 3

Step 4

Step 5

Step 6

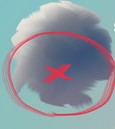
with Smudge and rough it up a bit sample bottom-ish?
Step 7
Step 8
 sample more sides and paint as needed
do some actual painting brush strokes, larga soft round
Step 9


please practice, this won't be a magical solution it is not a perfect method for all clouds your brush
strokes are impactful on this paintover will still be needed use reference
BRUSH DOWNLOAD
TUTORIAL BY MAKKON
THANKS MAKKON
BRUSH DOWNLOAD
TUTORIAL BY MAKKON
THANKS MAKKON
Cloud Brush Painting Step by Step Tutorial (+FREE BRUSHES)
 Reviewed by painting
on
March 31, 2020
Rating:
Reviewed by painting
on
March 31, 2020
Rating:
Reviewed by painting
on
March 31, 2020
Rating:


Thanks for this awesome step‑by‑step cloud brush painting tutorial! It’s really helpful to see how simple brush techniques can create realistic sky and cloud effects in digital artwork. Tutorials like this make it so much easier for beginners to learn how to work with different brush settings, layer modes, and opacity to achieve natural‑looking results. Understanding how to use custom brushes and adjust their behavior can open up a lot of creative possibilities in your illustrations and designs. If anyone wants to dive deeper into brush techniques in Photoshop, this guide on The Beginners Guide To Using Scatter Brushes In Photoshop explains how to use scatter brushes effectively and get more dynamic results. Great resource for digital artists!
ReplyDelete